
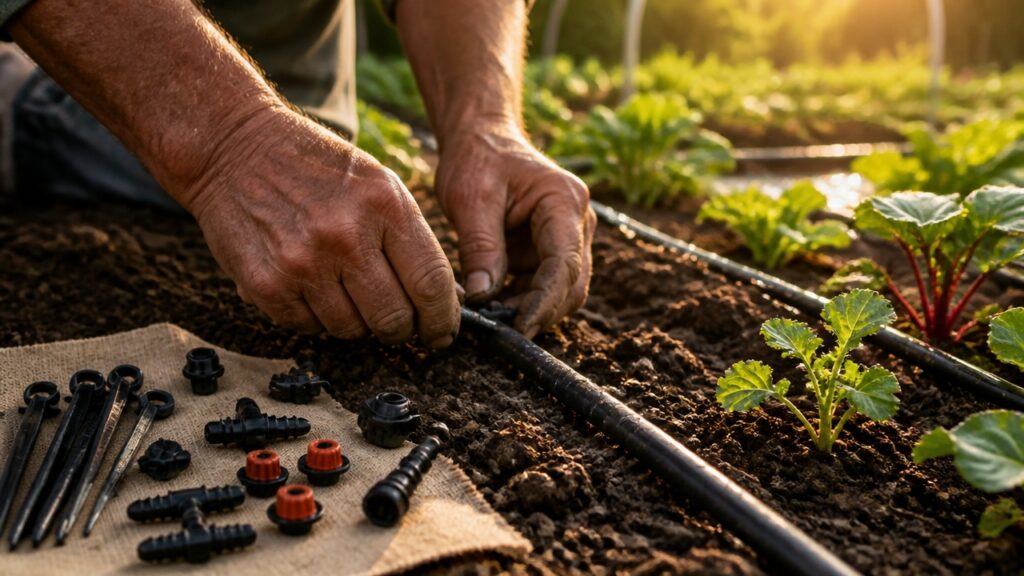
A weekend is just enough time to transform your garden watering routine. Start by sketching out your garden layout and identifying where water needs to go most. Gather your tubing, emitters, filters, and connectors before you begin, so you’re not making supply runs mid-project.
Laying out the drip lines might feel fussy at first, but it becomes satisfying once you find your rhythm. Connect everything to your water source, install filters to keep debris from clogging the emitters, and then turn on the water to check for leaks. Small adjustments now save headaches later.
Getting the timing right makes all the difference for different plants. Add timers so your garden gets watered even when you’re busy, then fine-tune each emitter to match what your tomatoes, herbs, or flower beds actually need. Some plants prefer a gentle trickle while others can handle more flow.
What keeps a drip system working well isn’t just the weekend you spend installing it. Regular checks throughout the growing season catch problems early, clearing any clogs and adjusting water schedules as temperatures change.
Your plants will show you quickly if something’s off, so stay attentive and your system will reward you with consistent results.
Plan Your Drip Irrigation Layout and Water Needs
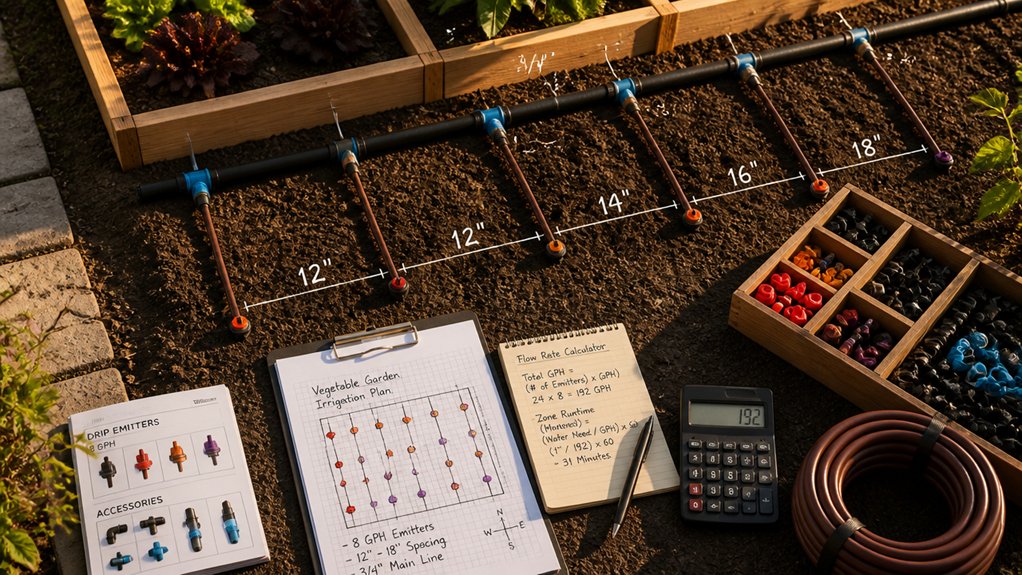
Before purchasing materials or digging trenches, determine the garden’s layout, water requirements, and existing conditions. Map out garden dimensions, noting plant locations, soil type, and sun exposure. Different plants need varying water amounts; vegetables typically require one to two inches weekly, while established trees need less frequent watering.
Calculate total garden area in square feet to estimate system capacity. Identify water source location, whether a spigot, well, or rainwater collection system. Check water pressure, as drip systems function effectively between twenty and sixty pounds per square inch.
Sketch the garden layout on paper, marking plant rows, beds, and obstacles like trees or structures. Note slope direction, since water flows downhill. Document shaded versus sunny zones, as these affect evaporation rates and watering schedules. This planning phase prevents costly mistakes and guarantees efficient system design.
Gather Your Drip Irrigation Tools and Materials
Several essential tools and materials are needed to assemble and install a functional drip irrigation system. A main water source connection requires a backflow preventer and timer for automated watering schedules. The primary components include drip tubing, emitters, connectors, and end caps in appropriate sizes for the garden layout.
A punch tool creates holes in tubing for emitter placement, while tubing cutters guarantee clean, straight cuts. Pressure regulators maintain consistent water delivery to prevent line damage. Stakes and landscape fabric help secure lines and reduce weed growth.
A faucet timer controls watering duration and frequency. Gather these materials before beginning installation to ascertain an efficient, uninterrupted assembly process without repeated trips for forgotten items.
Design Your Main Line and Emitter Placement
Planning the main line layout and emitter placement requires careful consideration of the garden’s dimensions, plant locations, and water needs. The main line, typically a half-inch diameter tubing, should follow the garden’s perimeter or run down its center, depending on bed shape and accessibility.
Emitters need placement according to plant spacing and water requirements. Vegetables like tomatoes and peppers need drippers every 12 inches, while wider-spaced plants like shrubs may use emitters spaced 24 inches apart. Slope and soil type affect water distribution patterns.
Mark emitter locations on garden diagrams before installation. Consider elevation changes, as water flows downhill through the system. Position the main line where it won’t obstruct foot traffic or maintenance access. This planning prevents costly repositioning after setup.
Lay Out Your Drip Lines and Connect to Water
With the main line location and emitter positions mapped out, the installation phase begins by laying tubing across the garden bed and making necessary connections to the water source. Unroll the drip line along the marked path, securing it with stakes or landscape pins every few feet.
Connect the tubing to a timer or faucet using appropriate adapters, guaranteeing watertight seals at all joints. For gardens using soaker hoses, attach the end cap to prevent water loss. Install a filter near the water source to protect emitters from clogging.
Check all connections for leaks by running water briefly. Adjust line placement as needed to guarantee even coverage across planted areas before finalizing connections.
Install and Adjust Emitters for Each Plant
Each plant requires its own emitter, positioned to deliver water directly to the root zone. Emitters come in several types: drip tubing, micro-sprinklers, and individual drippers. Tomatoes and peppers typically need one dripper per plant, while larger shrubs may require two or three.
Install emitters by piercing the main line with a punch tool, then inserting the emitter stem into the hole. Position drippers approximately two inches from each plant’s base, angling slightly toward the root area.
Adjustment involves modifying flow rates based on soil type and plant needs. Sandy soil drains quickly, requiring higher flow rates. Clay soil retains moisture longer, needing reduced flow.
Test the system before finalizing placement. Observe water distribution patterns, ensuring complete coverage without runoff or dry spots. Make minor positioning adjustments as necessary.
Hide Your Lines With Soil or Mulch
Once the emitter system is tested and positioned correctly, covering the lines with soil or mulch becomes the next step. This protective layer serves multiple purposes for the irrigation system.
Soil or mulch shields drip lines from direct sunlight, which can degrade plastic tubing over time. The covering also protects lines from accidental damage during garden maintenance and foot traffic. A 2-3 inch layer of mulch works effectively for most applications.
When applying soil or mulch, make certain lines remain accessible for future adjustments or repairs. Push mulch gently around emitters without burying them completely.
For vegetable gardens, wood chips or straw function well. In flower beds, bark mulch provides both protection and aesthetic appeal. The covering material should not compress too heavily on tubing, as this may restrict water flow.
Set Up a Timer for Hands-Off Watering
Adding a timer to the drip irrigation system automates watering schedules, eliminating the need for manual operation. Battery-operated timers attach directly to the faucet or inline valve, controlling water flow at preset intervals.
Homeowners can select timers with basic on-off functions or programmable models offering multiple start times daily. Digital timers display schedules clearly, allowing adjustments for seasonal changes and plant water needs. Some models feature rain sensors that pause watering during precipitation, conserving water.
Installation requires connecting the timer between the water source and main supply line. Timers run on AA or nine-volt batteries, needing replacement annually or as indicated. Setting precise watering duration prevents overwatering, reducing plant disease and water waste while maintaining consistent soil moisture throughout growing seasons.
Test Your System and Fix Leaks
Before relying on the drip irrigation system for regular watering, homeowners should run the system and inspect all components for leaks or malfunctions. Turn on the water supply and observe each section of tubing, connectors, and emitters for water spraying or dripping where it should not. Common leak locations include connection joints, damaged tubing, and faulty emitters.
Mark any problem areas with tape or flags for easy identification. Minor leaks at connections may require tightening fittings with a wrench. Cracked tubing sections need replacement, while clogged emitters can be cleaned or swapped out.
After repairs, run the system again to confirm proper operation. Pressure regulators should maintain consistent water flow throughout the network, preventing weak coverage in distant zones.
Keep Your System Running Through Summer
Maintaining a drip irrigation system throughout the summer months requires regular monitoring, adjustments, and preventative care to guarantee consistent plant watering. Gardeners should check emitters and drip lines weekly for clogs, leaks, or damage from heat and UV exposure. Mulch application around plants helps retain moisture and reduces system workload during peak heat.
Adjust watering schedules based on temperature and rainfall, increasing duration during hot spells exceeding 85 degrees Fahrenheit. Clean intake filters monthly to prevent sediment buildup that restricts water flow. Monitor soil moisture at root depth using a moisture meter rather than relying on surface appearance.
Replace any cracked or brittle tubing caused by sun damage. These maintenance tasks assure reliable operation and prevent plant stress during summer growing season.
Frequently Asked Questions
Can I Install Drip Irrigation on Sloped or Uneven Terrain?
Yes, drip irrigation can be installed on sloped or uneven terrain. One should use pressure regulators to manage water flow on hills. Careful line positioning and strategic emitter placement help guarantee even water distribution across varying elevations and terrain.
What’s the Best Time of Year to Install a Drip Irrigation System?
Like planting seeds in fertile soil, spring and fall offer ideal conditions for drip irrigation installation. These moderate seasons provide comfortable working temperatures and adequate moisture for system testing. Summer heat and winter frost present significant installation challenges and complications.
How Much Water and Money Will Drip Irrigation Actually Save Me?
Drip irrigation typically reduces water consumption by 50 percent compared to traditional sprinklers. Homeowners save approximately 30 percent on water bills annually. Installation costs range from $500 to $2,000, with payback occurring within two to three years through accumulated savings.
Is Drip Irrigation Suitable for Container Gardens and Potted Plants?
One might assume potted plants require constant hand-watering, yet drip irrigation ironically thrives in containers. Soaker hoses and micro-drippers deliver water directly to roots, making container gardening remarkably efficient and effortless for even the laziest gardeners.
How Do I Winterize My Drip Irrigation System for Freezing Temperatures?
One should drain all water from lines and components, then blow out remaining moisture using compressed air. Next, disconnect emitters and store them indoors. Finally, cap all line endings to prevent debris accumulation during winter months.
Conclusion
Installing drip irrigation requires planning and testing, yet delivers hands-off watering. While initial setup demands effort, timers and mulch eventually reduce maintenance. The system saves water compared to sprinklers, though leaks occasionally occur. Regular monitoring prevents problems; neglect causes dry patches. Once operational, the gardener enjoys consistent plant hydration without daily intervention, balancing upfront work against season-long convenience.